


As a hydrant valve supplier, I often get asked about how to check the valve seat of a hydrant valve. It's a crucial part of maintaining the functionality and safety of these valves, especially considering they're used in fire - fighting systems where reliability is non - negotiable.
First off, let's understand what the valve seat is. The valve seat is the part of the hydrant valve where the valve disc or plug makes contact to stop the flow of water. A damaged or worn - out valve seat can lead to leaks, reduced water pressure, and in the worst - case scenario, a failure of the hydrant valve during an emergency.
Pre - inspection Preparations
Before you start checking the valve seat, you need to do a bit of prep work. First, shut off the water supply to the hydrant valve. This is super important as you don't want water gushing out while you're trying to inspect the valve seat. You can usually find the main shut - off valve near the hydrant or in the building's water distribution system.
Next, gather your tools. You'll need a few basic things like a flashlight, a set of wrenches, a feeler gauge, and a mirror. The flashlight will help you see inside the valve, the wrenches are for removing any covers or parts, the feeler gauge is for measuring clearances, and the mirror can be handy for getting a better view of hard - to - reach areas.
Visual Inspection
Once you've got everything ready, start with a visual inspection. Remove any covers or access panels that give you access to the valve seat. Use your flashlight and mirror to get a good look at the valve seat surface. You're looking for obvious signs of damage like cracks, chips, or excessive wear. If you see any of these, it's a red flag.
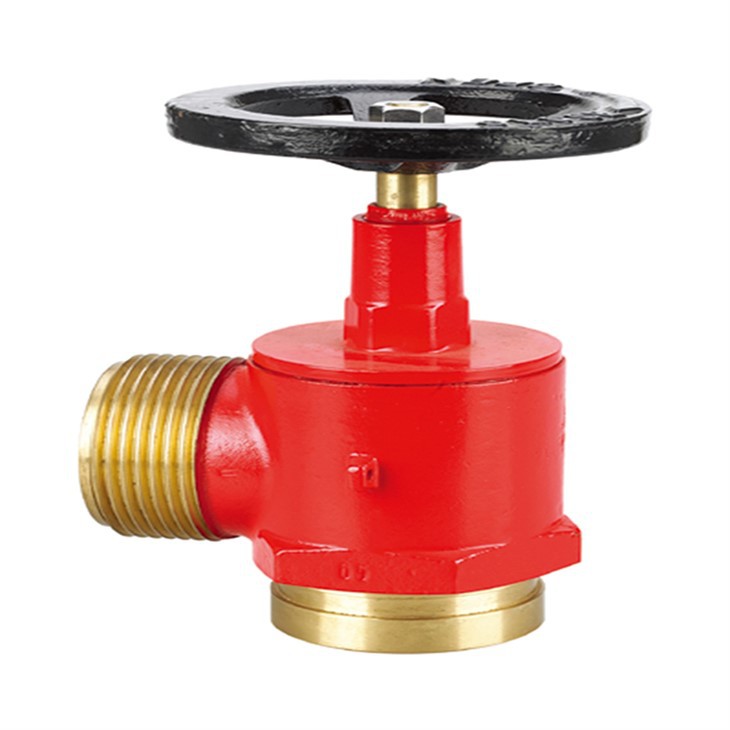

Cracks in the valve seat can be a major problem. They can cause water to leak past the valve even when it's supposed to be closed. Small cracks might seem harmless at first, but they can grow over time, leading to more serious issues. Chips in the seat can also disrupt the seal between the valve disc and the seat, resulting in water leakage.
Excessive wear is another common issue. Over time, the constant contact between the valve disc and the seat can wear down the surface. You might notice that the seat looks smoother or has a shiny appearance in some areas. This could be a sign that the material has been worn away, and the valve might not seal properly.
Measuring the Valve Seat
After the visual inspection, it's time to measure the valve seat. This is where the feeler gauge comes in handy. You want to measure the width of the valve seat and the clearance between the valve disc and the seat. The width of the valve seat should be within the manufacturer's specifications.
If the width is too narrow, it might not provide enough surface area for the valve disc to make a good seal. On the other hand, if it's too wide, the valve disc might not be able to fully engage with the seat, also leading to leaks.
The clearance between the valve disc and the seat is also important. A proper clearance ensures that the valve can open and close smoothly without binding. If the clearance is too small, the valve might be difficult to operate. If it's too large, there's a risk of water leaking through.
Checking for Leaks
Even if the valve seat looks okay visually and the measurements are within spec, you still need to check for leaks. One way to do this is to slowly turn the valve on and off a few times while observing the area around the valve seat. Look for any signs of water dripping or spraying.
You can also use a pressure test. Reconnect the water supply (but keep the valve closed for now) and gradually increase the pressure in the system. Monitor the pressure gauge and the valve seat area. If the pressure drops unexpectedly or you see water leaking, there's likely a problem with the valve seat.
Cleaning and Maintenance
If the valve seat passes all the checks, it's still a good idea to clean it. Over time, dirt, debris, and mineral deposits can build up on the seat surface, which can affect the valve's performance. You can use a mild detergent and a soft brush to clean the seat. Make sure to rinse it thoroughly to remove any soap residue.
After cleaning, you might want to apply a light coat of lubricant to the valve seat. This can help reduce friction between the valve disc and the seat, making the valve easier to operate and also extending the lifespan of the seat.
When to Replace
If during the inspection you find significant damage to the valve seat, such as large cracks, deep chips, or excessive wear that can't be corrected by cleaning or minor adjustments, it's time to replace the valve seat. As a hydrant valve supplier, I can offer you a wide range of high - quality valve seats that are compatible with different types of hydrant valves.
We have products like the Fire Valve With Flange Straight Type which comes with a well - designed valve seat for optimal performance. Also, the Fire Hydrant Oblique Landing Valve Female Thread For Fire Fighting is a great option for specific applications. And of course, our Hydrant Valve series is engineered to meet the highest standards of quality and reliability.
In conclusion, regularly checking the valve seat of a hydrant valve is essential for its proper functioning. By following these steps, you can catch any problems early on and take appropriate action. If you have any questions about hydrant valves or need to purchase replacement parts, don't hesitate to get in touch with us. We're here to help ensure that your fire - fighting systems are in top condition. Reach out to us and let's start a procurement discussion to find the best solution for your needs.
References
- International Fire Code (IFC)
- National Fire Protection Association (NFPA) standards related to fire hydrant valves
- Manufacturer's installation and maintenance manuals for hydrant valves


